
The
downtown office where I work is an old residence that was once
converted into apartments, but then was converted AGAIN to become office
space. The end result is unique and gives the agency more of a "homey"
feel than a true business atmosphere.
Most
of the individual offices have beautiful french style doors, which are
great for letting in light, but pretty bad when it comes to privacy. My
office is the closest to the break room area, and so anyone passing
through the hall was a bit of a distraction.
I
researched options online for methods to add some privacy. I knew I did
not want curtains, as that would block out too much. I knew I wanted
something to give a frosted look, but also something that wouldn't be
permanent, in case I needed to remove it. I saw a few different ideas,
but the easiest and most cost effective I saw was to use clear matte finish contact
paper to create the frosted glass look. One option I saw was to use
stencils to create a pattern, but I decided that frosting entire panes
would look best, in this case.
I
picked up a roll of contact paper at Wal-Mart for around
$7-8.....aaaand promptly forgot the project for several months. I'm good
at things like that. But then I knew I had a slow day coming up at
work, and decided it was the perfect time to complete it.
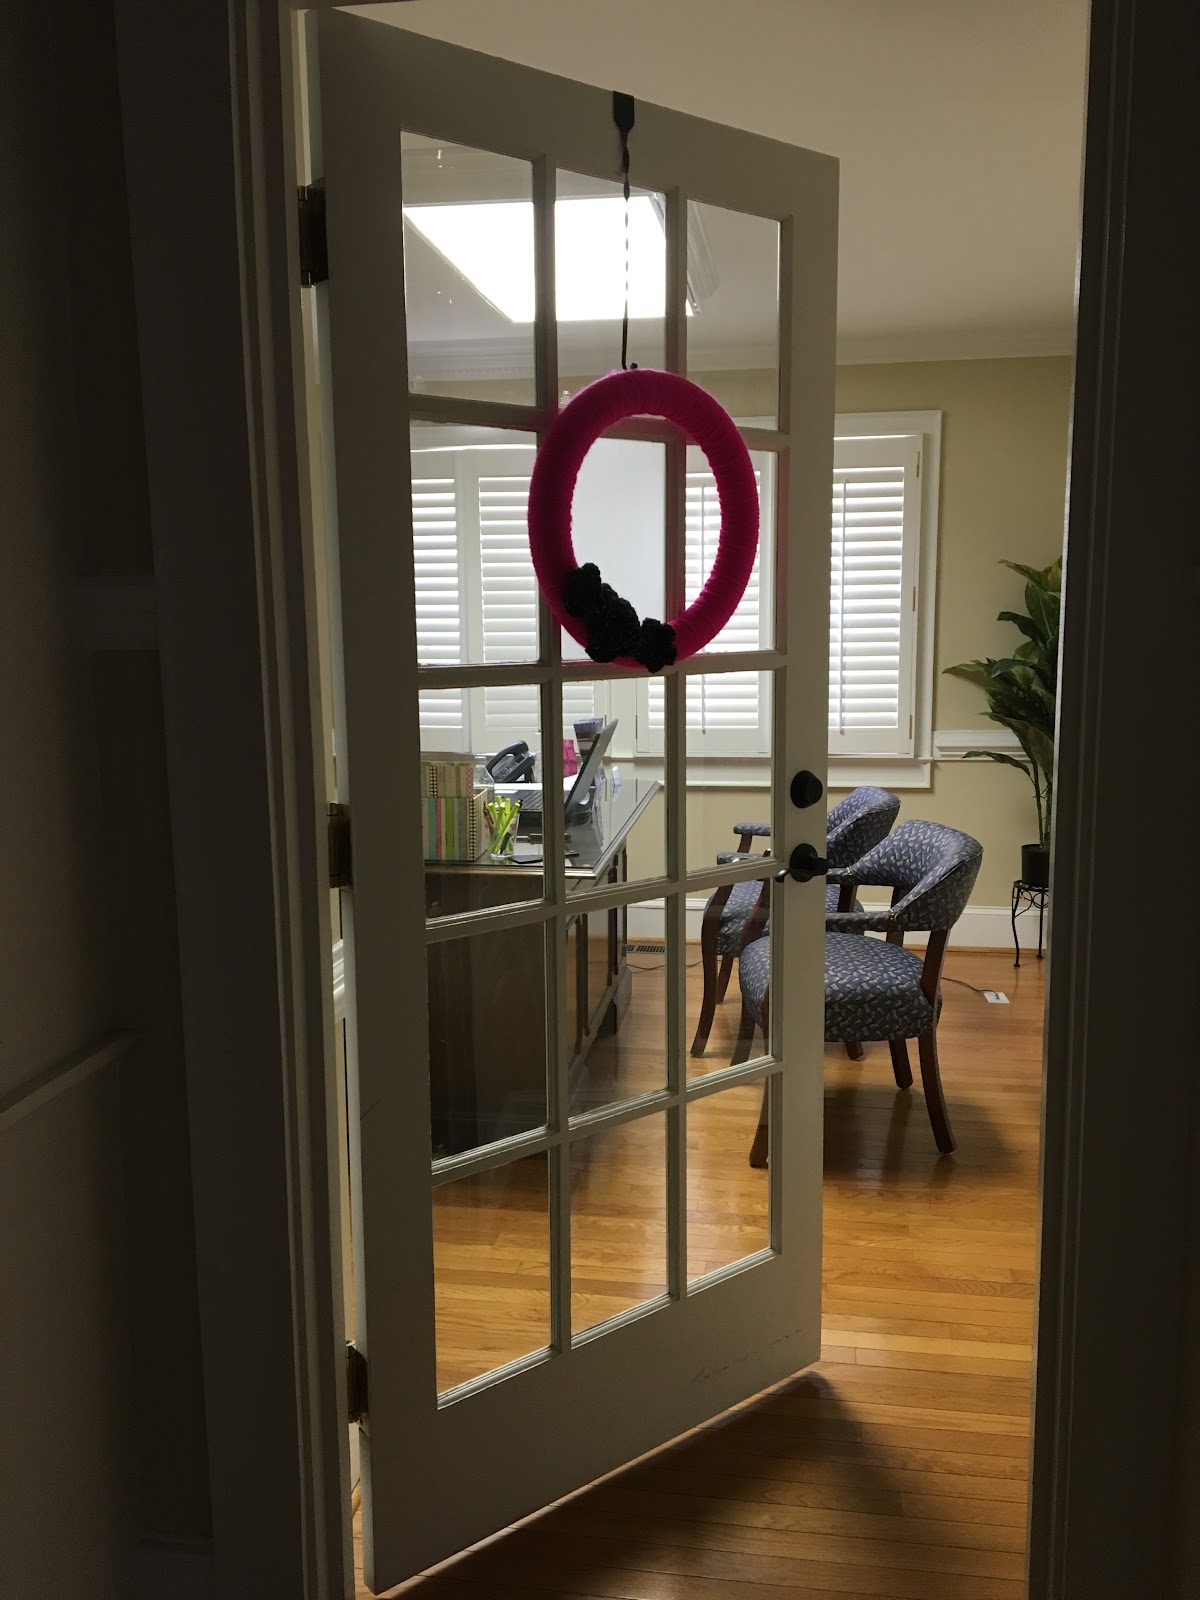
Here's a look at the 'before'.

Materials used:
- Clear contact paper (matte finish)
- Scissors
- Plastic putty knife (I used all three sizes that came in the set)

Now, I'd like to say I measured everything exactly and cut the paper to the perfect specifications before applying.....but I'd be lying. I tried that with the first few panes and it was SO DIFFICULT. Plus it didn't seem to be working as I wanted it. So I just played around with it until I found a method that worked. Basically, what worked best was to hold the paper to the glass, mark where the edges of the panes were with the smallest putty knife, and then cut. Sloppy? Yes. Effective? Also yes.
Once the paper was cut, I applied a little at a time, sticking it to the top of the pane first and working my way down, using the larger putty knife to smooth it as I went, to prevent any large air bubbles.
(I found that no matter what you do, there will be small air bubbles, but they're really not noticeable in the finished product.)

Here's a quick video to give you an idea of what I did.

And here's what the pane looked like after adding the contact paper.

Is is perfect? Nope. But it still looks great!
I chose to do an alternating pattern, so I didn't cover EVERY pane. I was afraid it would feel too closed off if I did that, which wasn't what I wanted at all.
Here's the final product, as seen from the hallway.

And a view from the inside.

I absolutely love the effect! It offers just enough privacy without being too much. Plus, the contact paper is incredibly easy to remove, so there's no lasting damage to the glass. This was a very forgiving project because of the contact paper being so easy to remove and reposition.
Overall, I'm extremely pleased with how it came out, and definitely plan to use this trick again in the future. Maybe next time I'll be brave and try the stencil idea!
Hope you enjoyed, and if you liked this post, give it a share on Pinterest (or your favorite social media platform) using the links below!
Thanks!
Comments
Post a Comment