From the time I first learned of cosplay, I have been intrigued by it. Cosplaying is something I have wanted to do for several years, but I never truly felt comfortable enough doing so, for three main reasons. The first reason was that I was too concerned with what others might think (more on that later on!), and the second was I was self-conscious with how I looked overall, due to my weight, to consider it 'doable'.
Before I proceed, let me pause a moment to say that I completely and fully understand that cosplay is something that ALL people, regardless of body size, age, gender, etc., etc., can participate in and enjoy if they should desire and choose to do so. I am speaking of my own experiences and feelings. Just so we're clear!
The third, and final reason, was that everything I read about cosplay was that it was fairly expensive. I am making strides towards being more responsible financially (which ain't easy), so the idea of spending large sums of money on cosplay items, especially if I wasn't sure if I would like it or not, seemed a bit crazy.
This is where I found myself 'stuck' for several years. I wanted to cosplay, even toyed with some 'casual' cosplay once last year, but never really went any further than that. However, due to my continuing self-improvement goals, and the loss of about 66 pounds overall (which I may discuss at length in another post), I finally felt comfortable and confident enough in myself to pursue a true cosplay.
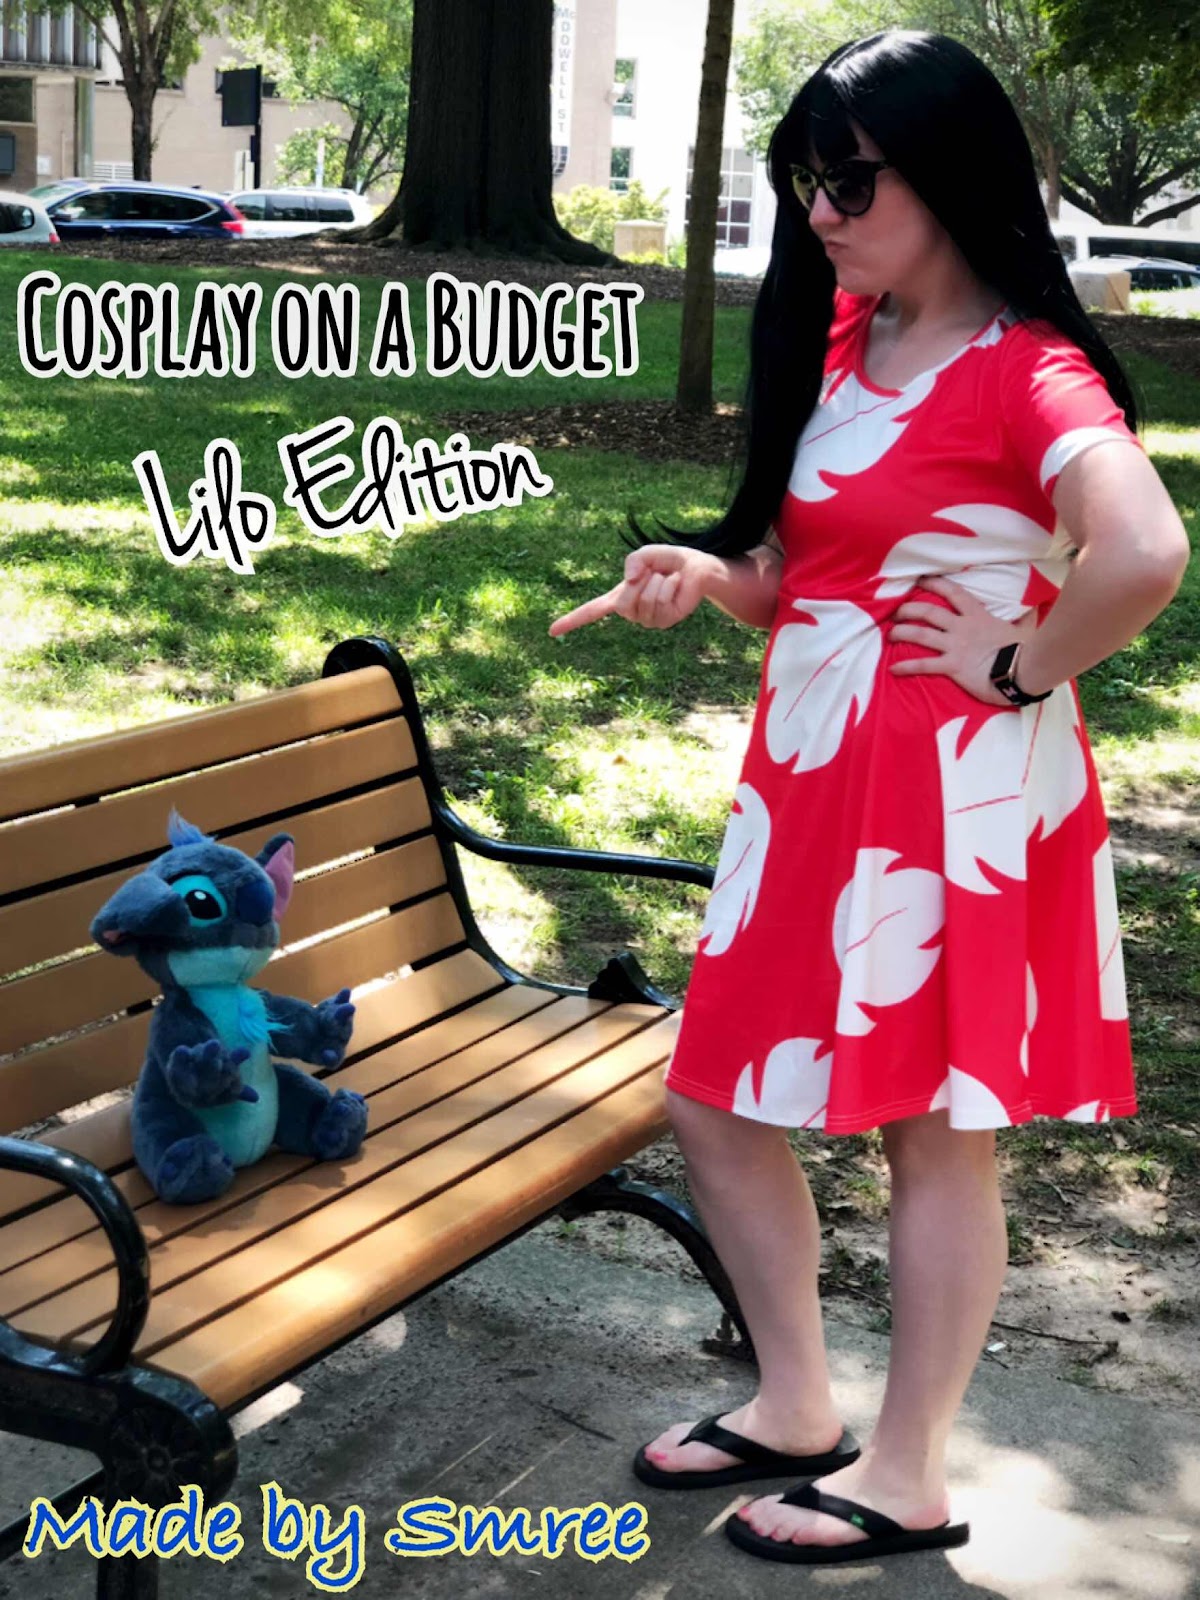
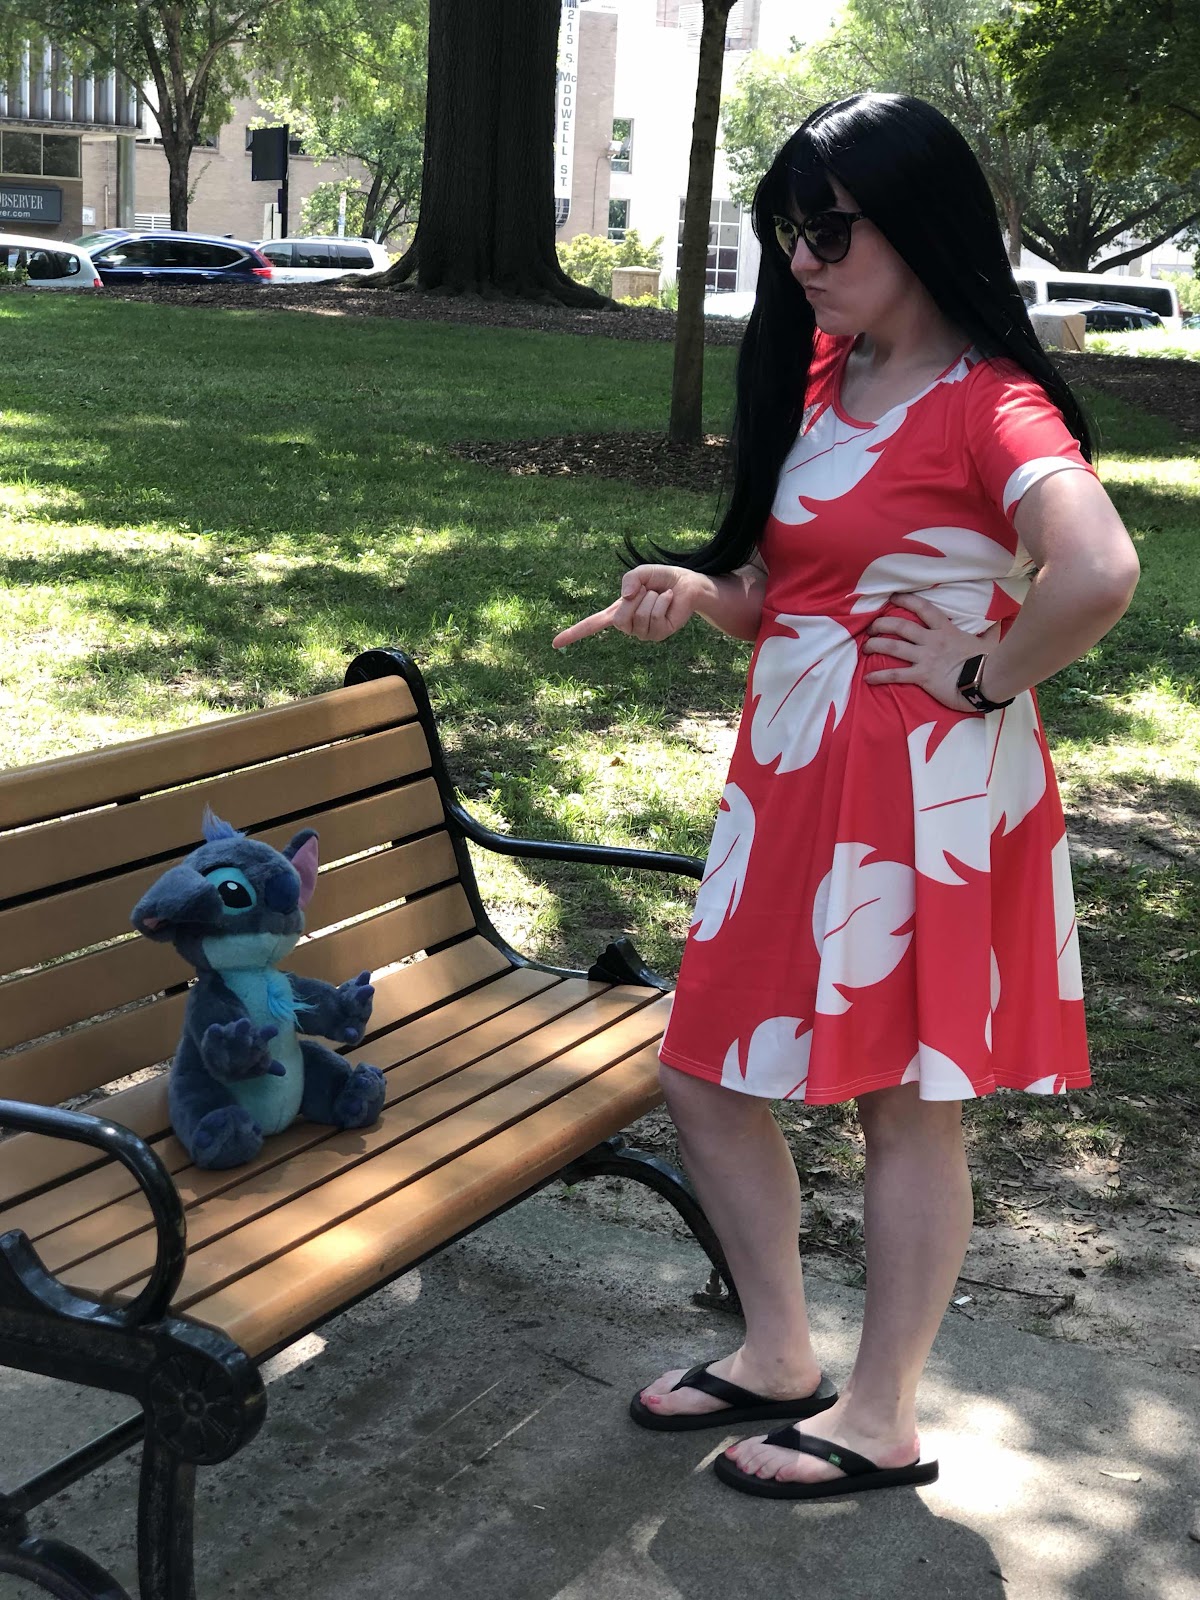
My Alabama friends and I had been planning to go to Galaxycon in Raleigh over the summer, and I decided this was the perfect opportunity to debut some simple cosplays. I chose two, Misty from Pokemon, and Lilo from Disney's Lilo and Stitch. Both were fairly simple, easy to put together and wear, and most importantly...cost effective.
Lilo was easily my favorite of the two cosplays. and cost about $30 total to put together.

The most expensive item was the wig, which I purchased on Amazon for $20. The dress was from eBay - it's listed for $13.49, but I used a $5 coupon sent to me by eBay to get it for $8.49 total.
Also worth noting - I ordered the dress in a size large, and I typically wear a medium/small shirts and am a 6/8 in pants sizes. Check those size charts over well if you decide to buy one!
Before I proceed, let me pause a moment to say that I completely and fully understand that cosplay is something that ALL people, regardless of body size, age, gender, etc., etc., can participate in and enjoy if they should desire and choose to do so. I am speaking of my own experiences and feelings. Just so we're clear!
The third, and final reason, was that everything I read about cosplay was that it was fairly expensive. I am making strides towards being more responsible financially (which ain't easy), so the idea of spending large sums of money on cosplay items, especially if I wasn't sure if I would like it or not, seemed a bit crazy.
This is where I found myself 'stuck' for several years. I wanted to cosplay, even toyed with some 'casual' cosplay once last year, but never really went any further than that. However, due to my continuing self-improvement goals, and the loss of about 66 pounds overall (which I may discuss at length in another post), I finally felt comfortable and confident enough in myself to pursue a true cosplay.
My Alabama friends and I had been planning to go to Galaxycon in Raleigh over the summer, and I decided this was the perfect opportunity to debut some simple cosplays. I chose two, Misty from Pokemon, and Lilo from Disney's Lilo and Stitch. Both were fairly simple, easy to put together and wear, and most importantly...cost effective.
Lilo was easily my favorite of the two cosplays. and cost about $30 total to put together.
The most expensive item was the wig, which I purchased on Amazon for $20. The dress was from eBay - it's listed for $13.49, but I used a $5 coupon sent to me by eBay to get it for $8.49 total.
Also worth noting - I ordered the dress in a size large, and I typically wear a medium/small shirts and am a 6/8 in pants sizes. Check those size charts over well if you decide to buy one!
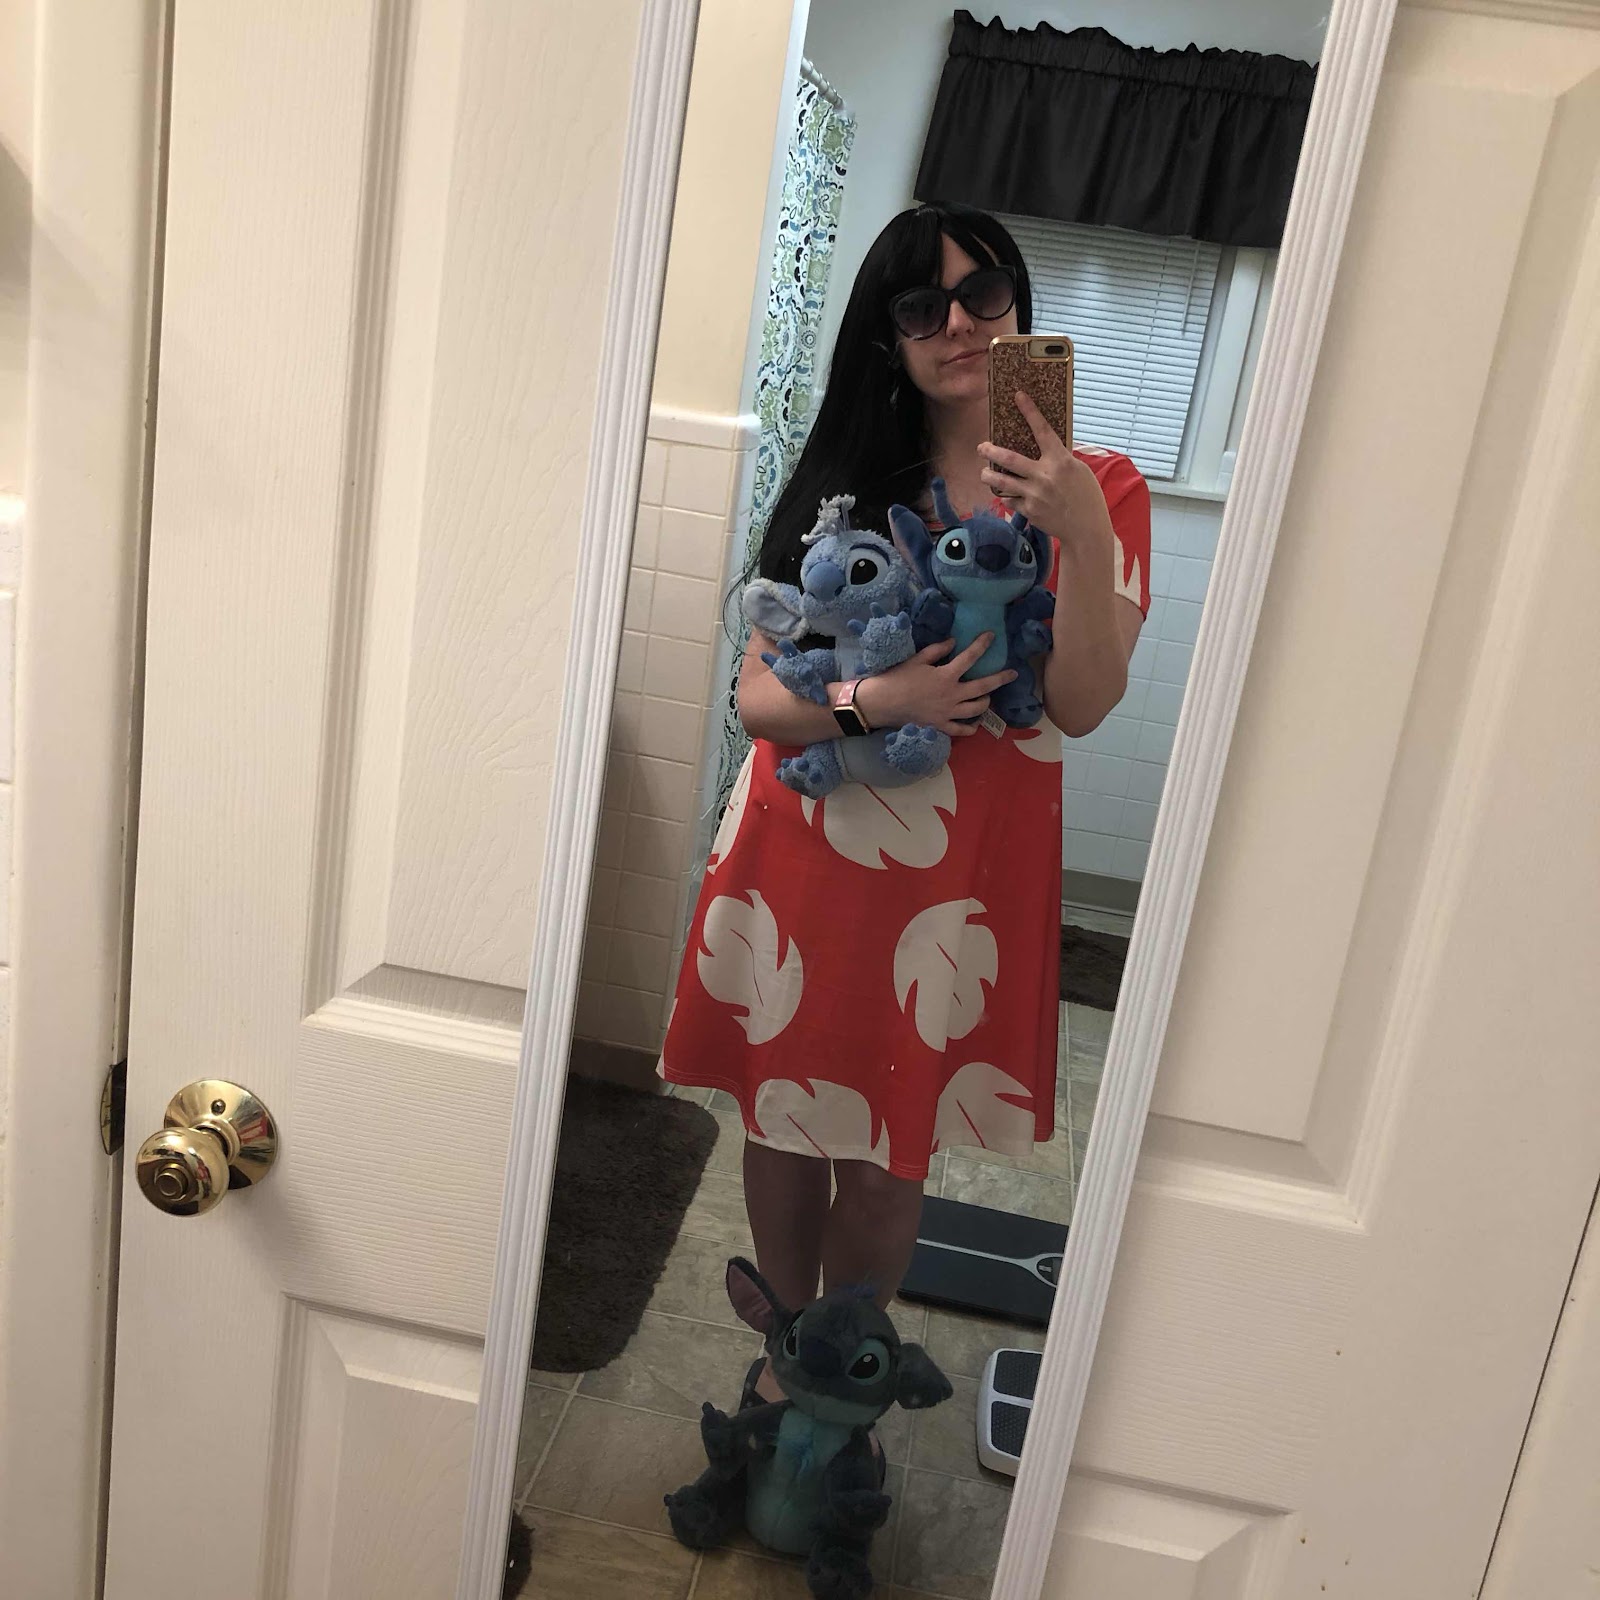
Everything else for the cosplay I had on hand, including the stuffed Stitch, sunglasses and black flip flops. Those could be picked up for relatively cheap though, if you don't already own them!
You could also dress up your favorite furry friend to be your personal Stitch, if you like.
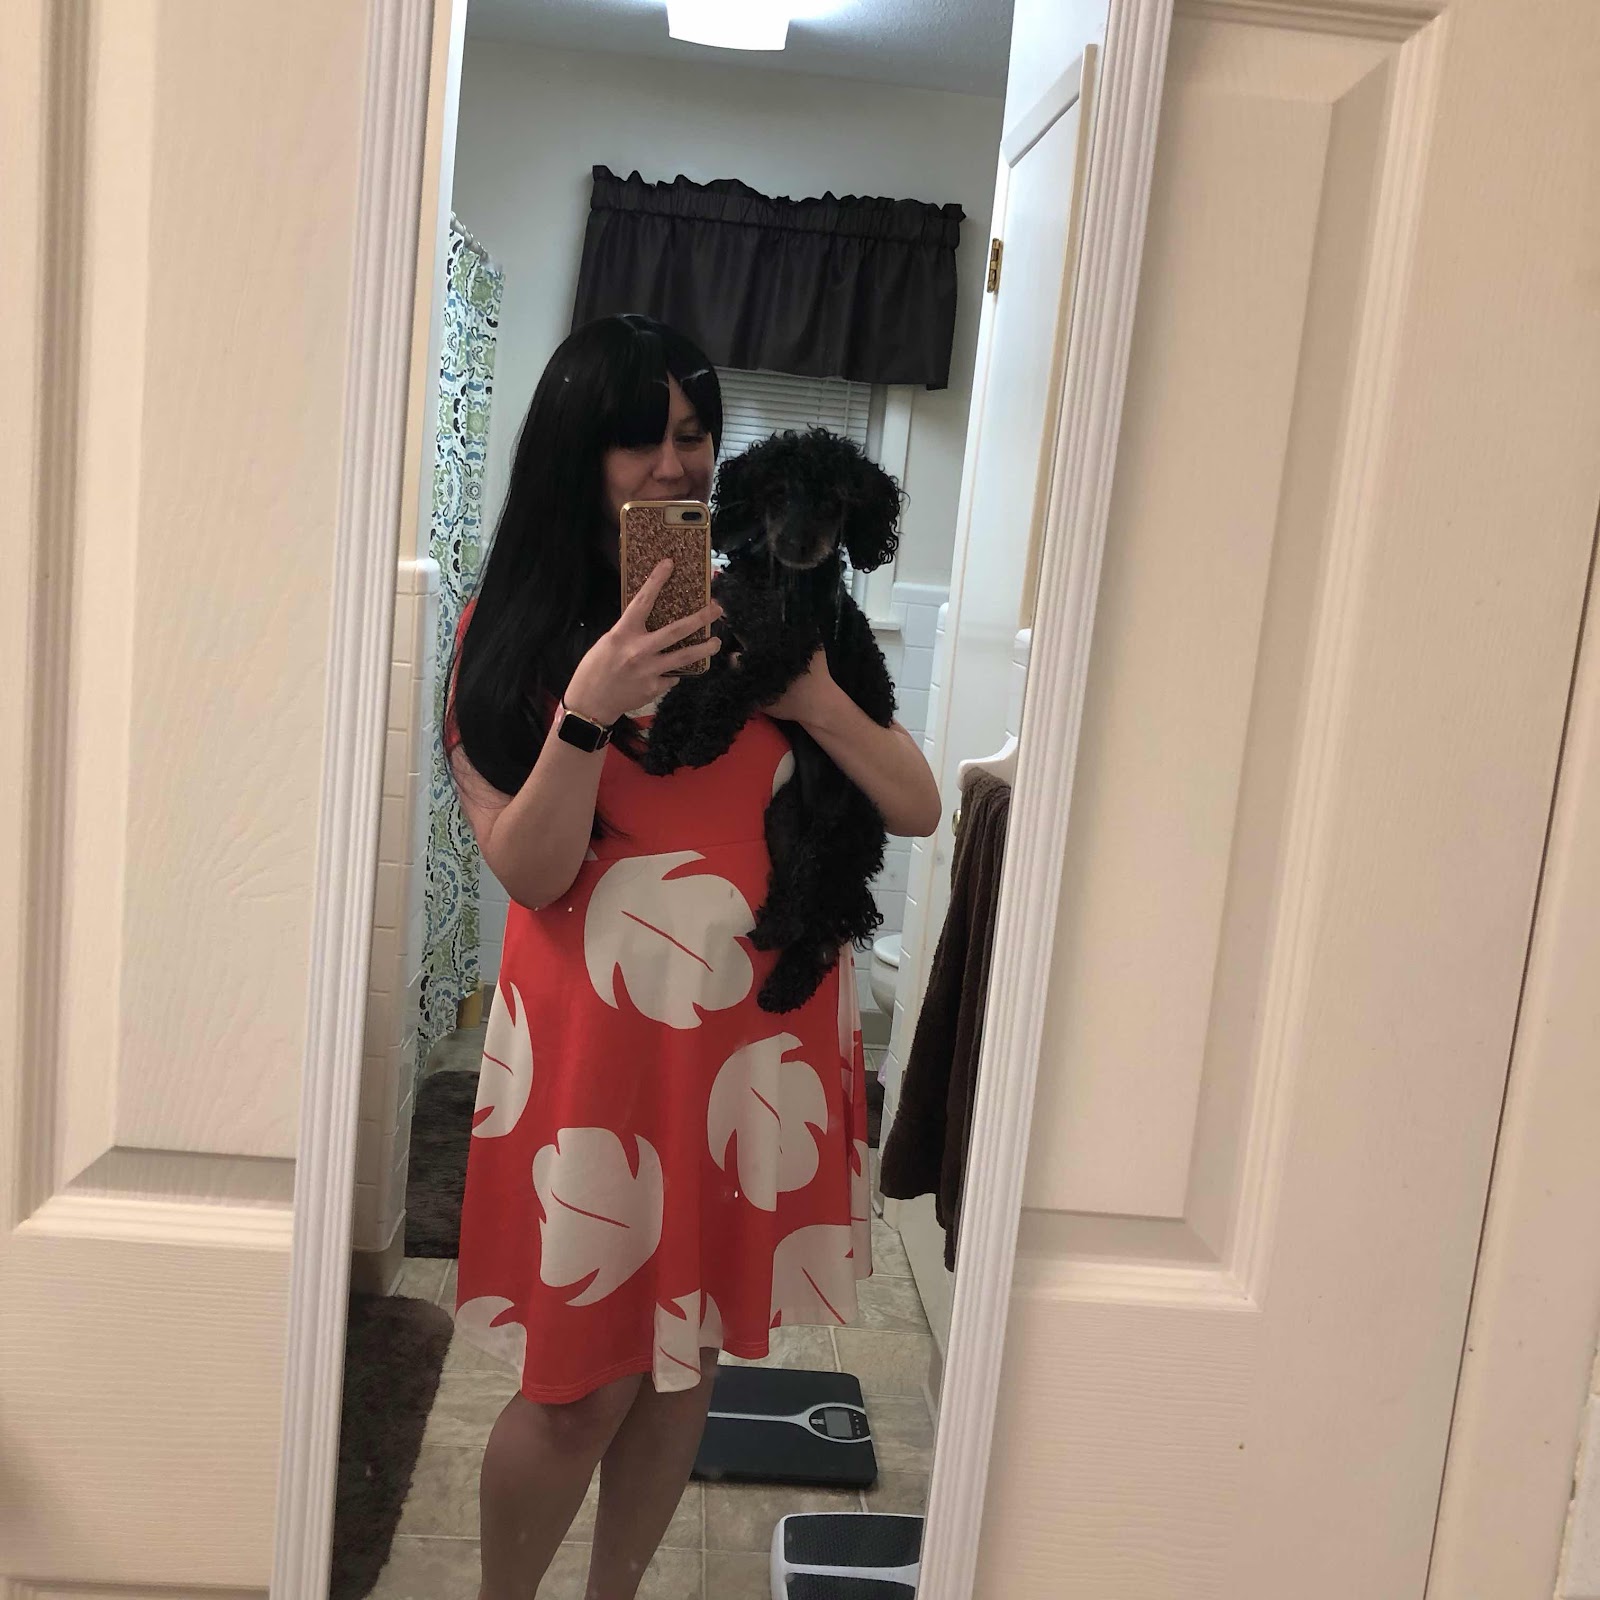

But that's entirely optional.
Overall, this was a great cosplay to begin with, since it was fairly easy and totally comfortable. It was well received by kids especially, and more than once I heard a gasp and "MOM, LOOK! IT'S A LILO!"
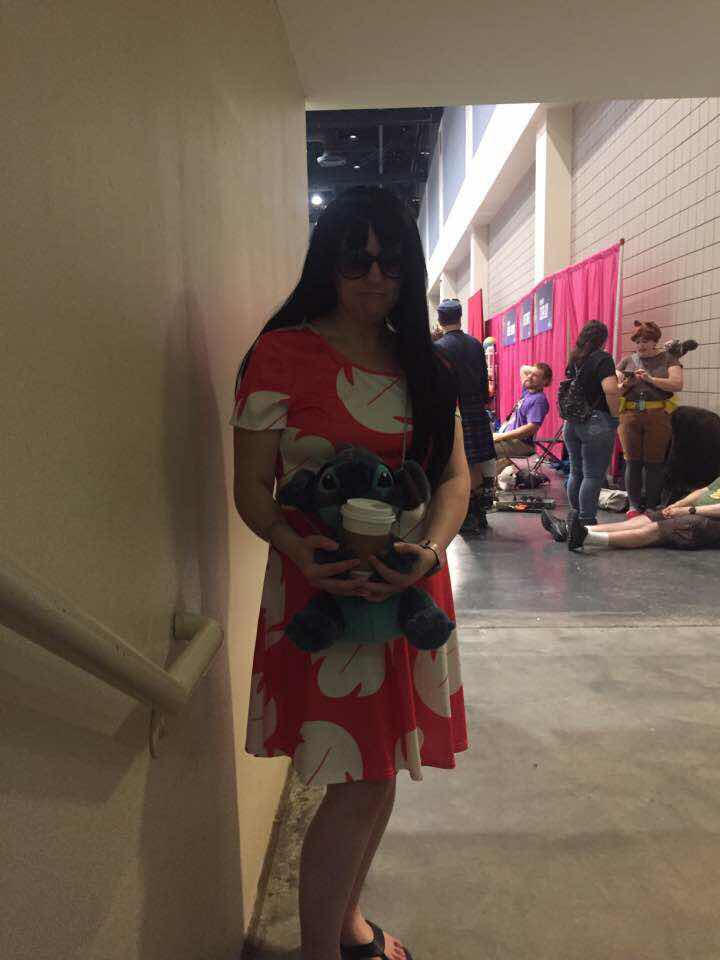 |
| Stitch and I both needed the caffeine fix. |
There was also the rather tall gentleman who had quite a moment when he asked me for a photo. He seemed so thrilled, and kept saying how adorable I was.
And let's be real, I totally was freakin' adorable, right?
My favorite moment of the day, however, happened right after passing two little girls, who were waving emphatically at me. I ALMOST missed seeing them, but noticed just in time to smile and wave at them. After walking past, my friend Ace said she heard them whisper to one another 'best. Lilo. EVER."
I don't know that I would go that far, but I'm fairly proud of my super low budget Lilo cosplay, and how it turned out.
I'm looking forward to planning more cosplays, but also looking for opportunities to bring Lilo back out again. I'll most likely continue to tweak it as I go, so if I make any major changes, I'll try to come back to make a follow up post.
One thing I know I will definitely change for next time...

More caffeine.
Comments
Post a Comment