I’m going to let y’all in on a secret.
I love coffee.
Okay, so it’s probably not THAT big of a secret, but I have seemingly developed what is probably an unhealthy obsession with coffee. And I’m not particularly picky when it comes to type, either. I love iced coffee, regular freshly brewed hot coffee, cold brews, lattes, flavored coffee...
Told you it was an obsession.
And this has been a great week for coffee lovers, what with National Coffee Day on September 29th, and International Coffee Day, which is today!
While I did celebrate both days by enjoying my favorites, today I wanted to share a new coffee confection I recently experimented with. Awhile back, I saw a video posted by some YouTubers in Japan about coffee jelly. Apparently it is (or was, since this was some time back) a big thing overseas, and when I first saw the video and recipe, I was intrigued. I thought I might try making it ‘one day’.
Fast forward a bit to more recently, and my finally getting around to watching The Disastrous Life of Saiki K. on Netflix. (Side note: If you have not seen this particular anime, I do highly recommend it!)
Saiki, the main character, has quite the affinity for coffee jelly, and it serves as a recurring theme in the show. This, of course, brought back to mind the recipe I had seen previously, and I decided that now was the time to try my hand at making coffee jelly.
I used this recipe from AllRecipes.com to make the first batch, using Folgers Caramel Drizzle flavored coffee. I intended to use either caramel vanilla cream or nutty caramel flavored coffee (do you see a trend in flavors here?), but yay Wal-mart order substitutions? It's a delicious coffee though, so I won't complain.
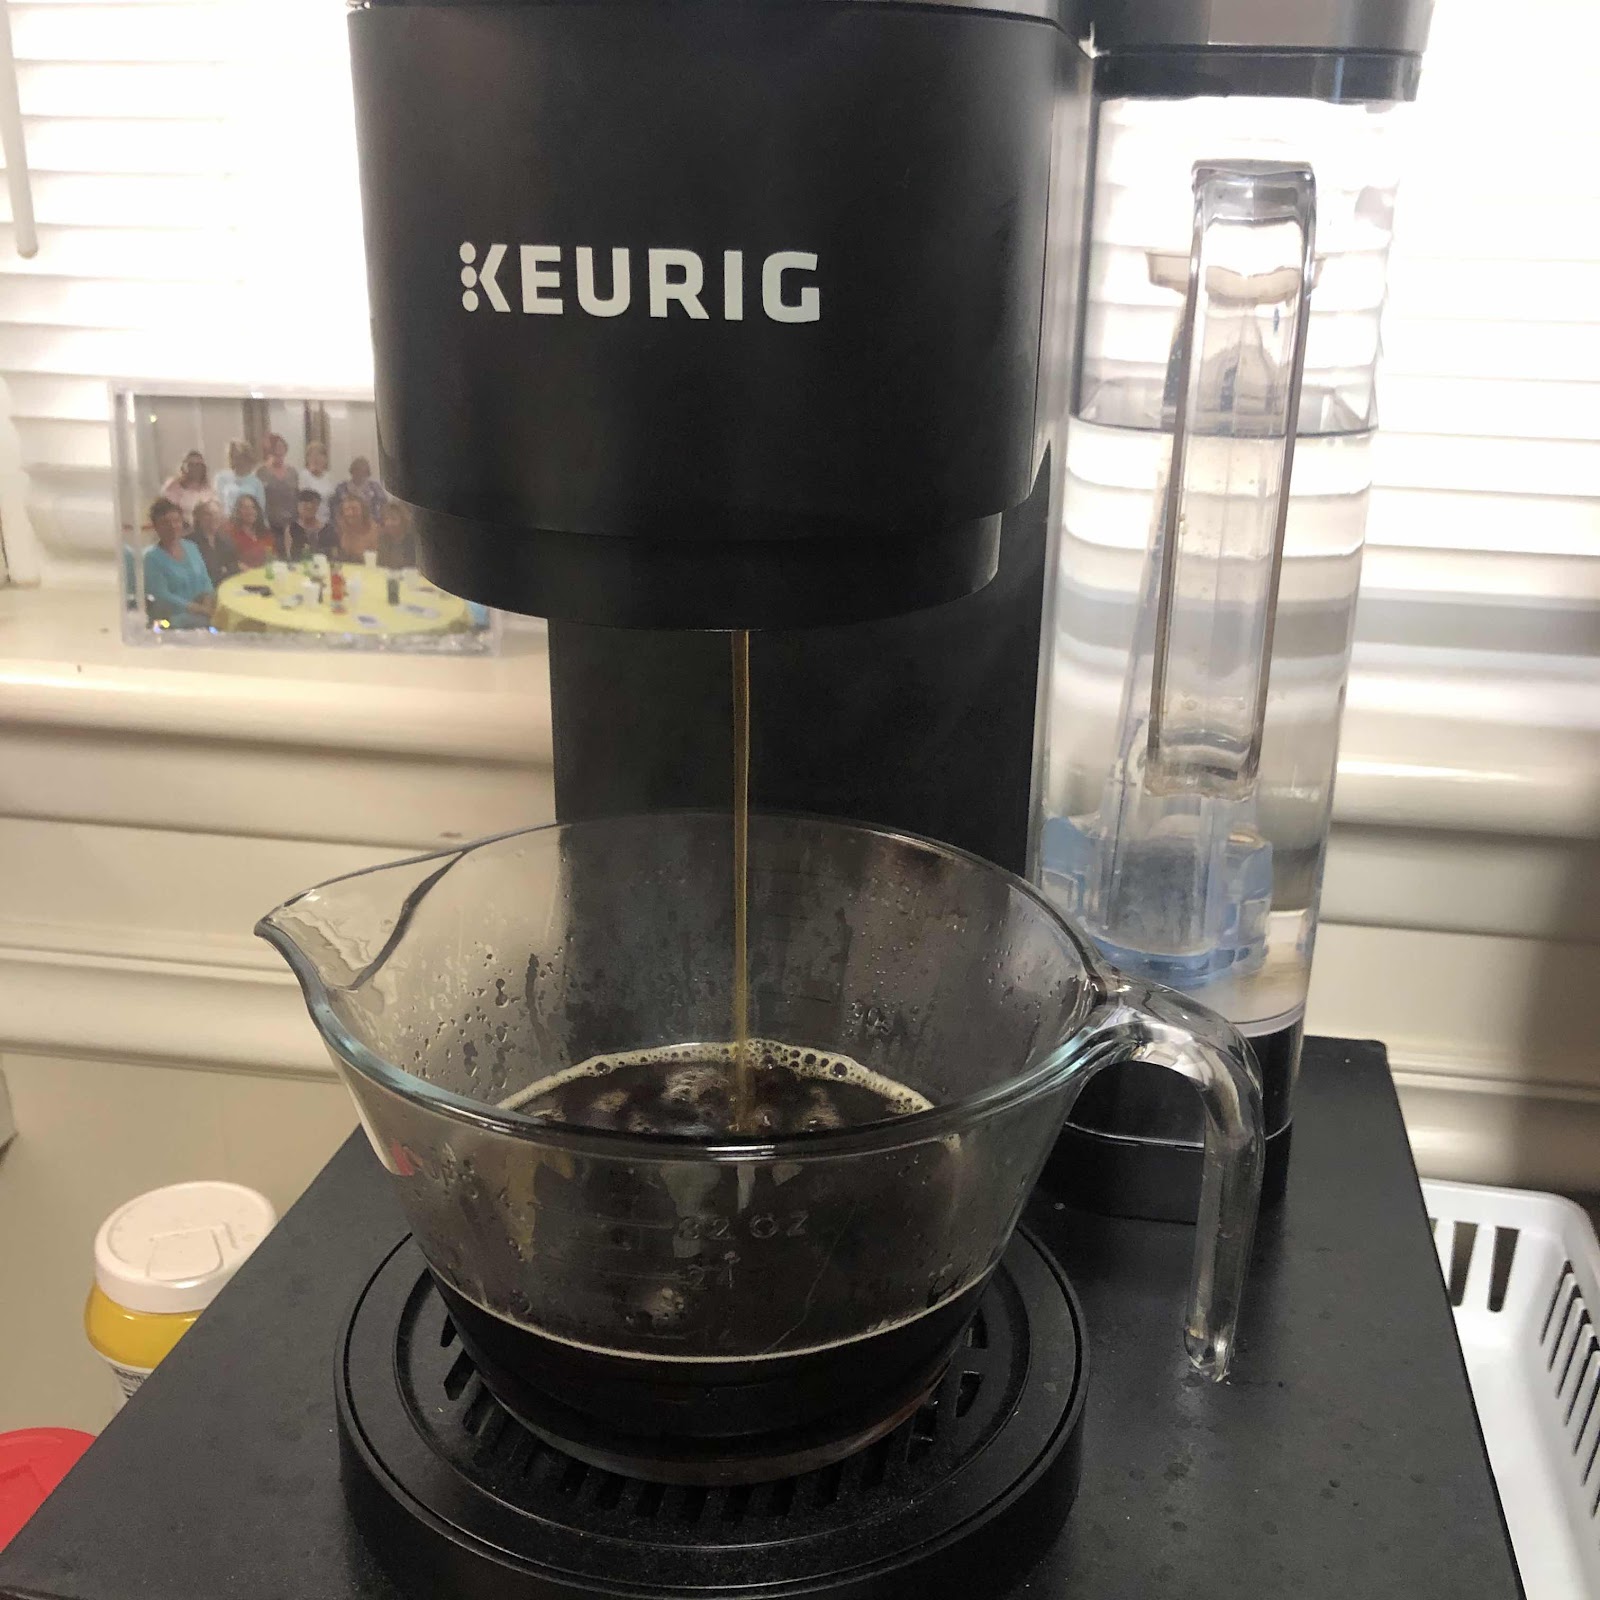
In hindsight, using k-cups was a bit awkward, but it worked. I am planning to make a batch with regular brewed coffee as well, at some point.
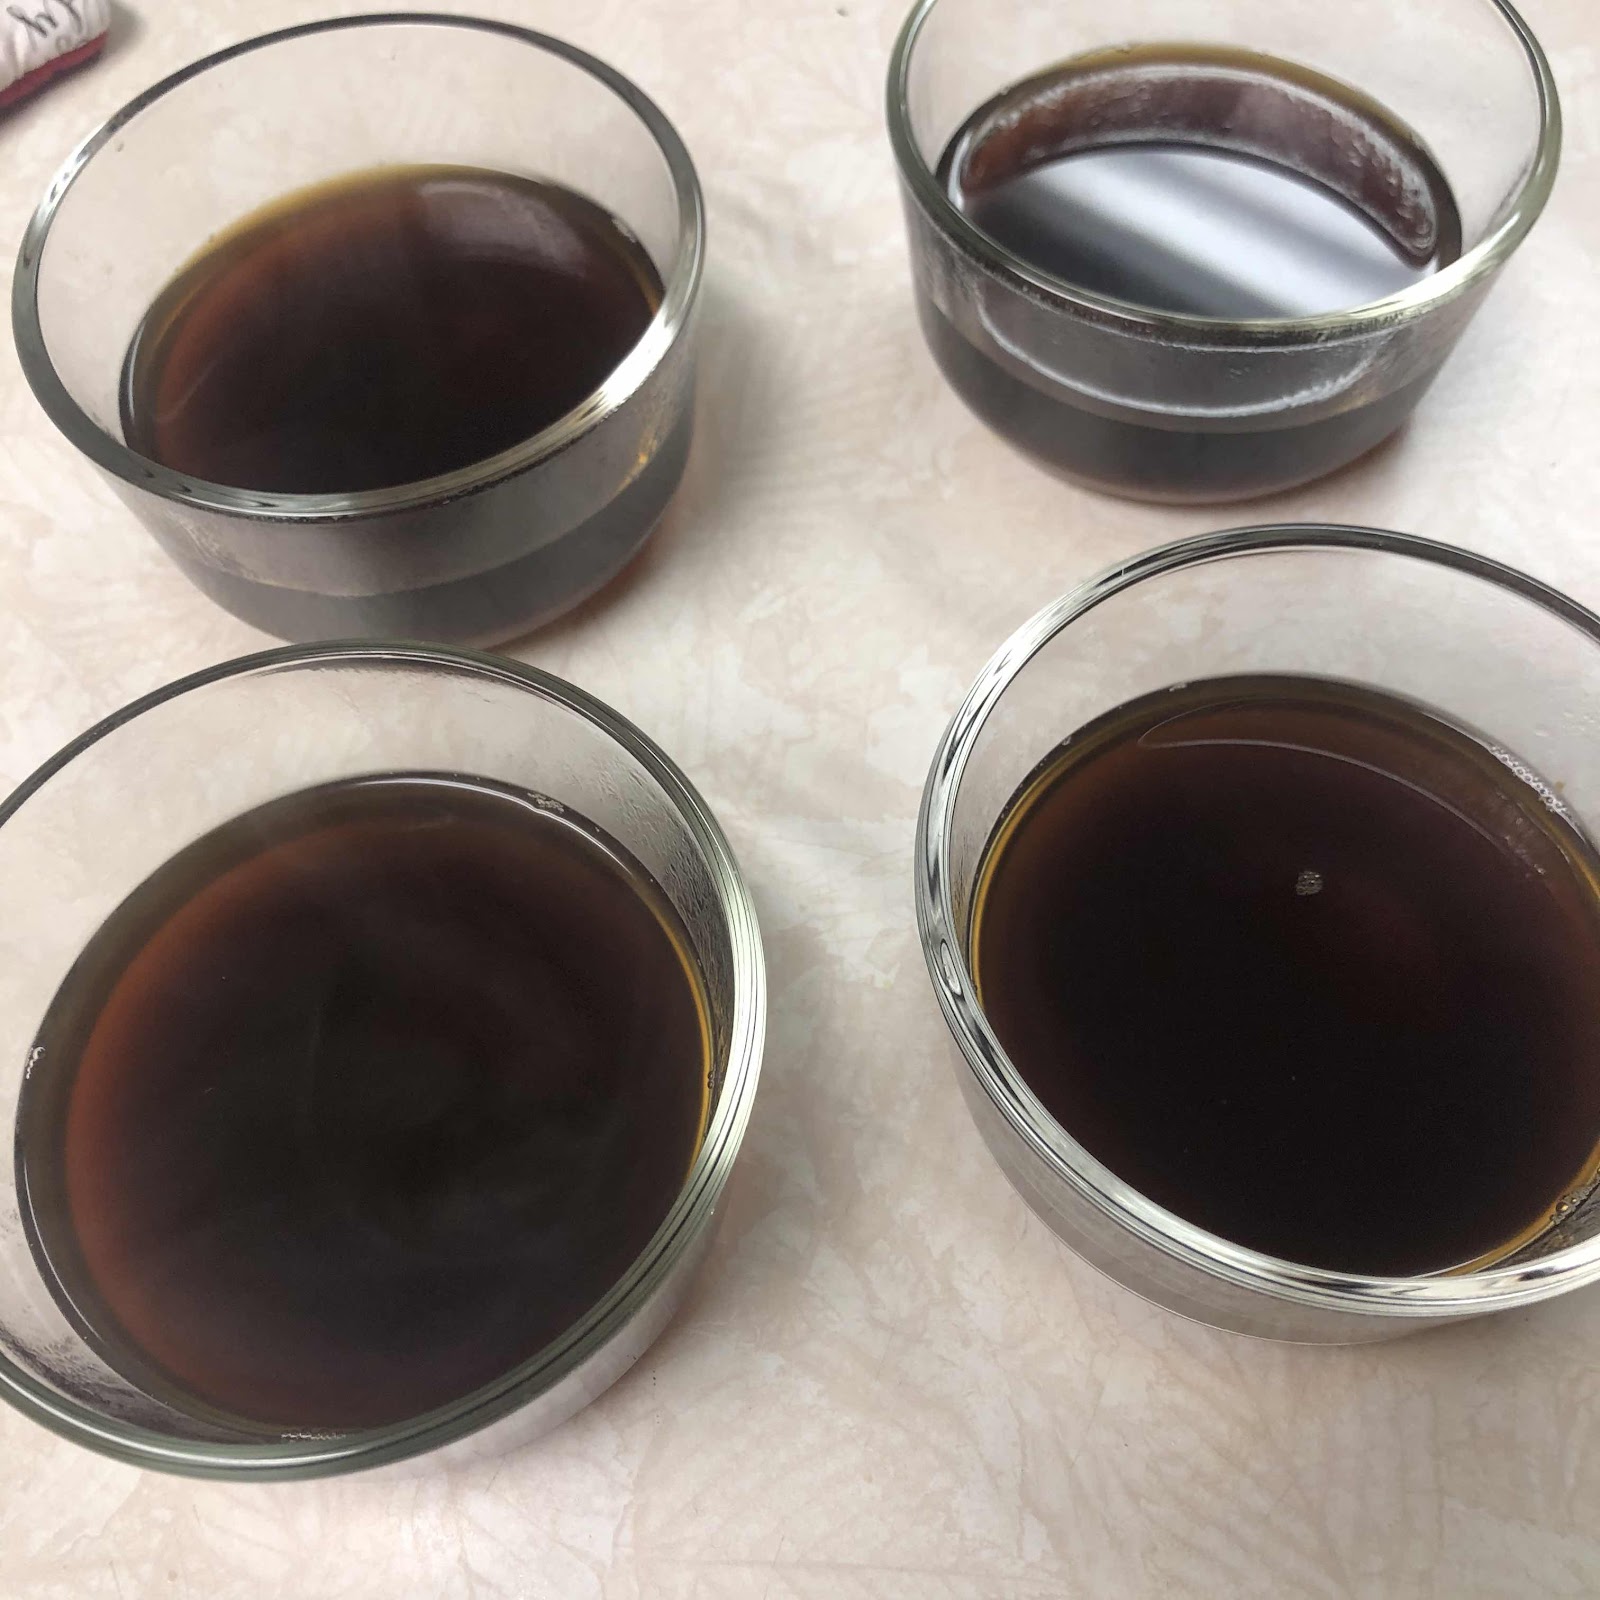
The recipe is extremely easy - coffee, unflavored gelatin, hot water and sugar. It's not a lot of sugar, either, so if you're a fan of super sweet coffee, you may want to taste test your batch to be sure it's sweet enough for you. Also, if you serve it with whipped cream or ice cream, that will sweeten it a bit as well, so keep that in mind when adding additional sweetener.
The recipe makes four servings, but it could easily be doubled for more. Four servings were plenty for us, however!
It takes a few hours for the gelatin to set, like most jelly desserts. I made a batch and left it in the fridge overnight to be sure it set properly, and it came out perfect.
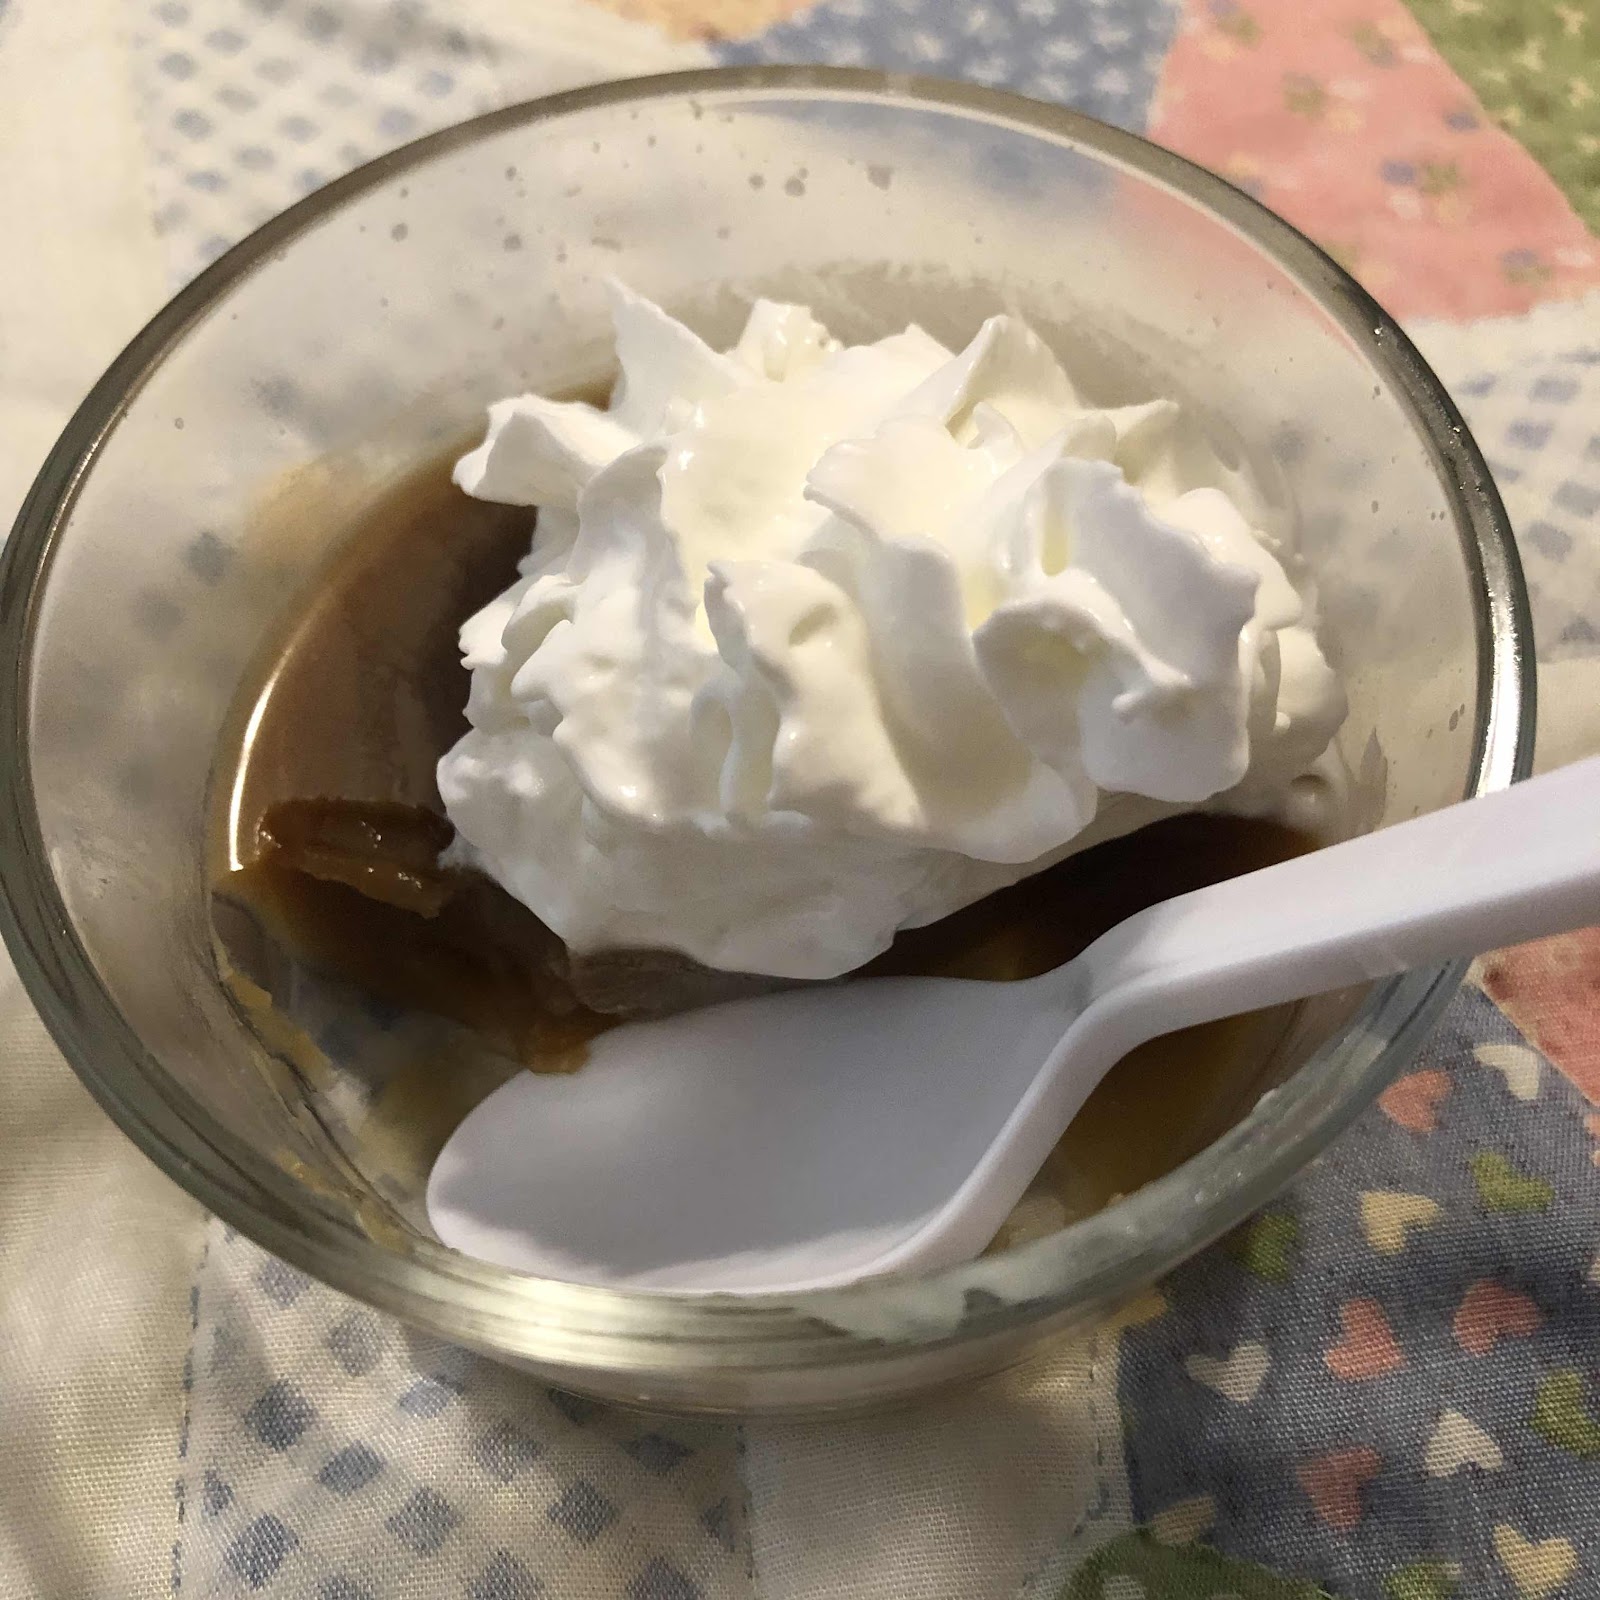
I served mine with whipped cream. A lot of whipped cream, actually.
I may also have a slight addiction to whipped cream. Please do not judge me.
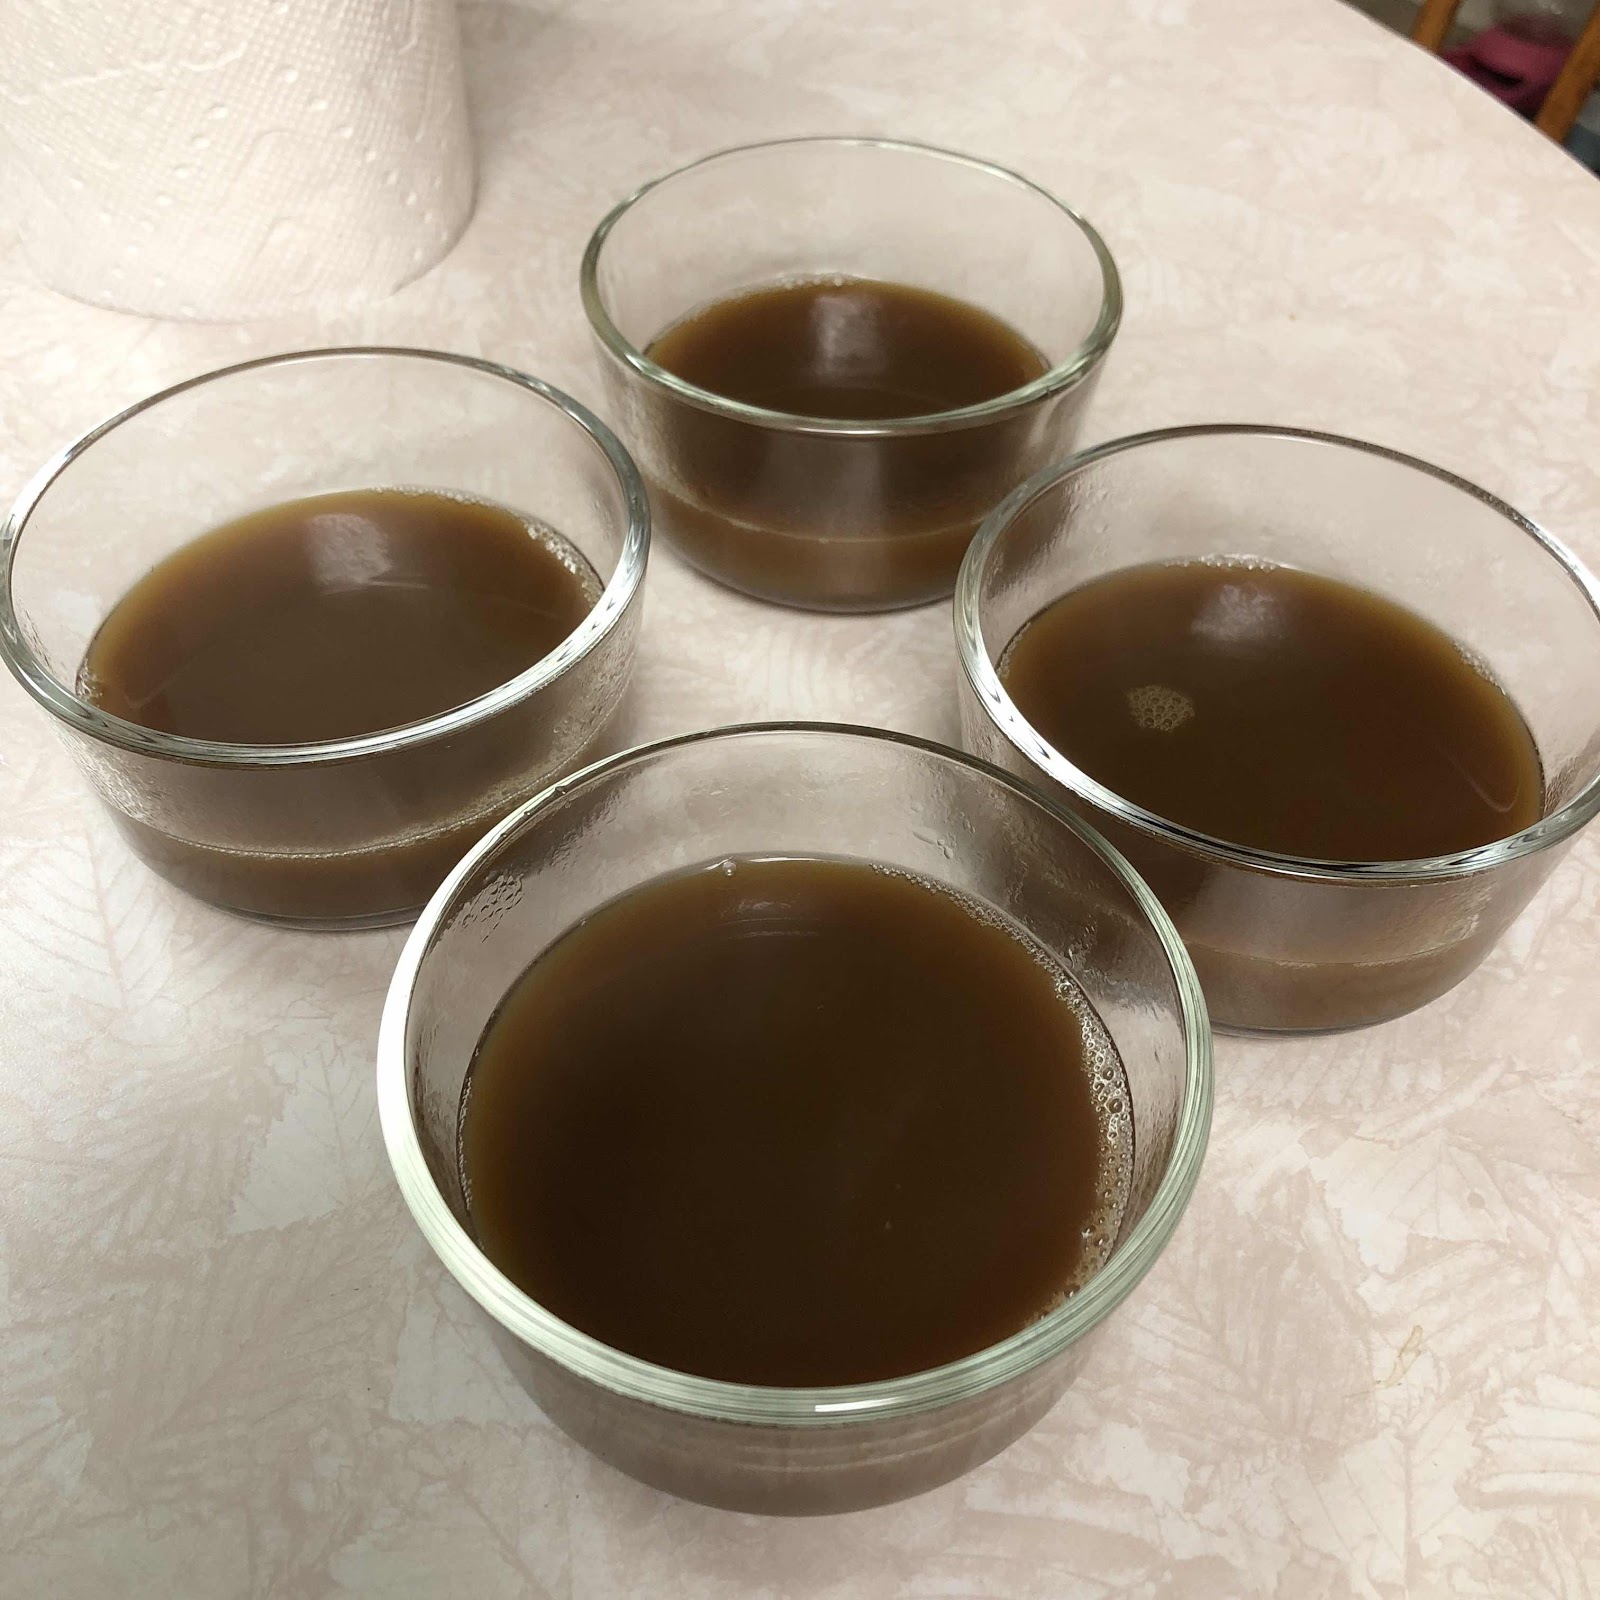
While the first batch of coffee jelly was good, it was still missing a little something. My taste testers (meaning my Dad and younger brother) all agreed. Good, but just not quite there yet. So, I tried again, but this time I added another ingredient. Vanilla coffee creamer.
I used powdered creamer, since it was what we had on hand, and added just ONE serving to the entire batch. Everything else I kept the same. Same amount of sugar, same amount of coffee, everything. Just added one serving of vanilla creamer.
You can see it looks a bit more milky than the first batch, even with the small amount I added in.
And it was delicious. The creamer was exactly what it needed to make it more complete, in my opinion. The taste testers and I agreed that the second batch was far superior to the first, and decided that all future batches should include creamer, as a result.
I do want to experiment with it a bit more, as I said, maybe with different flavors of coffees or just regular ol' brewed coffee (I have a 'Donut Shop' blend that is a personal favorite that is on my to-try list!). I also want to try serving it with vanilla ice cream instead of whipped cream, since I think that would make it a more decadent type of dessert.
What about you; Would you eat coffee jelly? If so, would you use flavored coffee or plain? I'd love to hear your thoughts!


Comments
Post a Comment